
Adding Widgets
It's easy to add MinistryPlatform widgets to your website. The simple steps are outlined below for Refresh websites. The concepts are similar for many website content management systems.
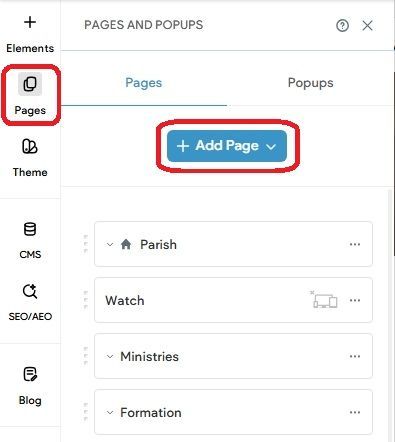
Step 1.
Click
Add Page
to add a new page to your website.
The page will host the widget.
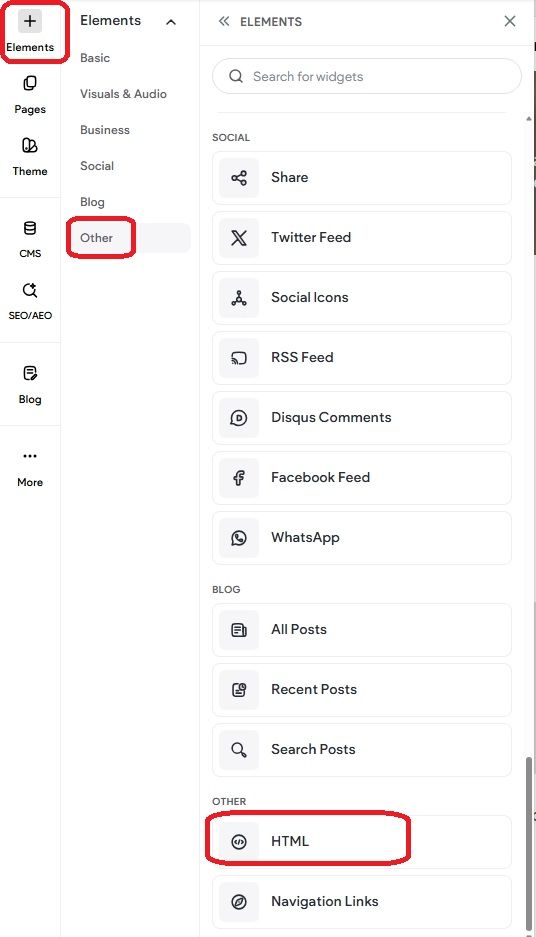
Step 2.
Add a new
HTML
element to the page.
This is where you'll put the widget code.
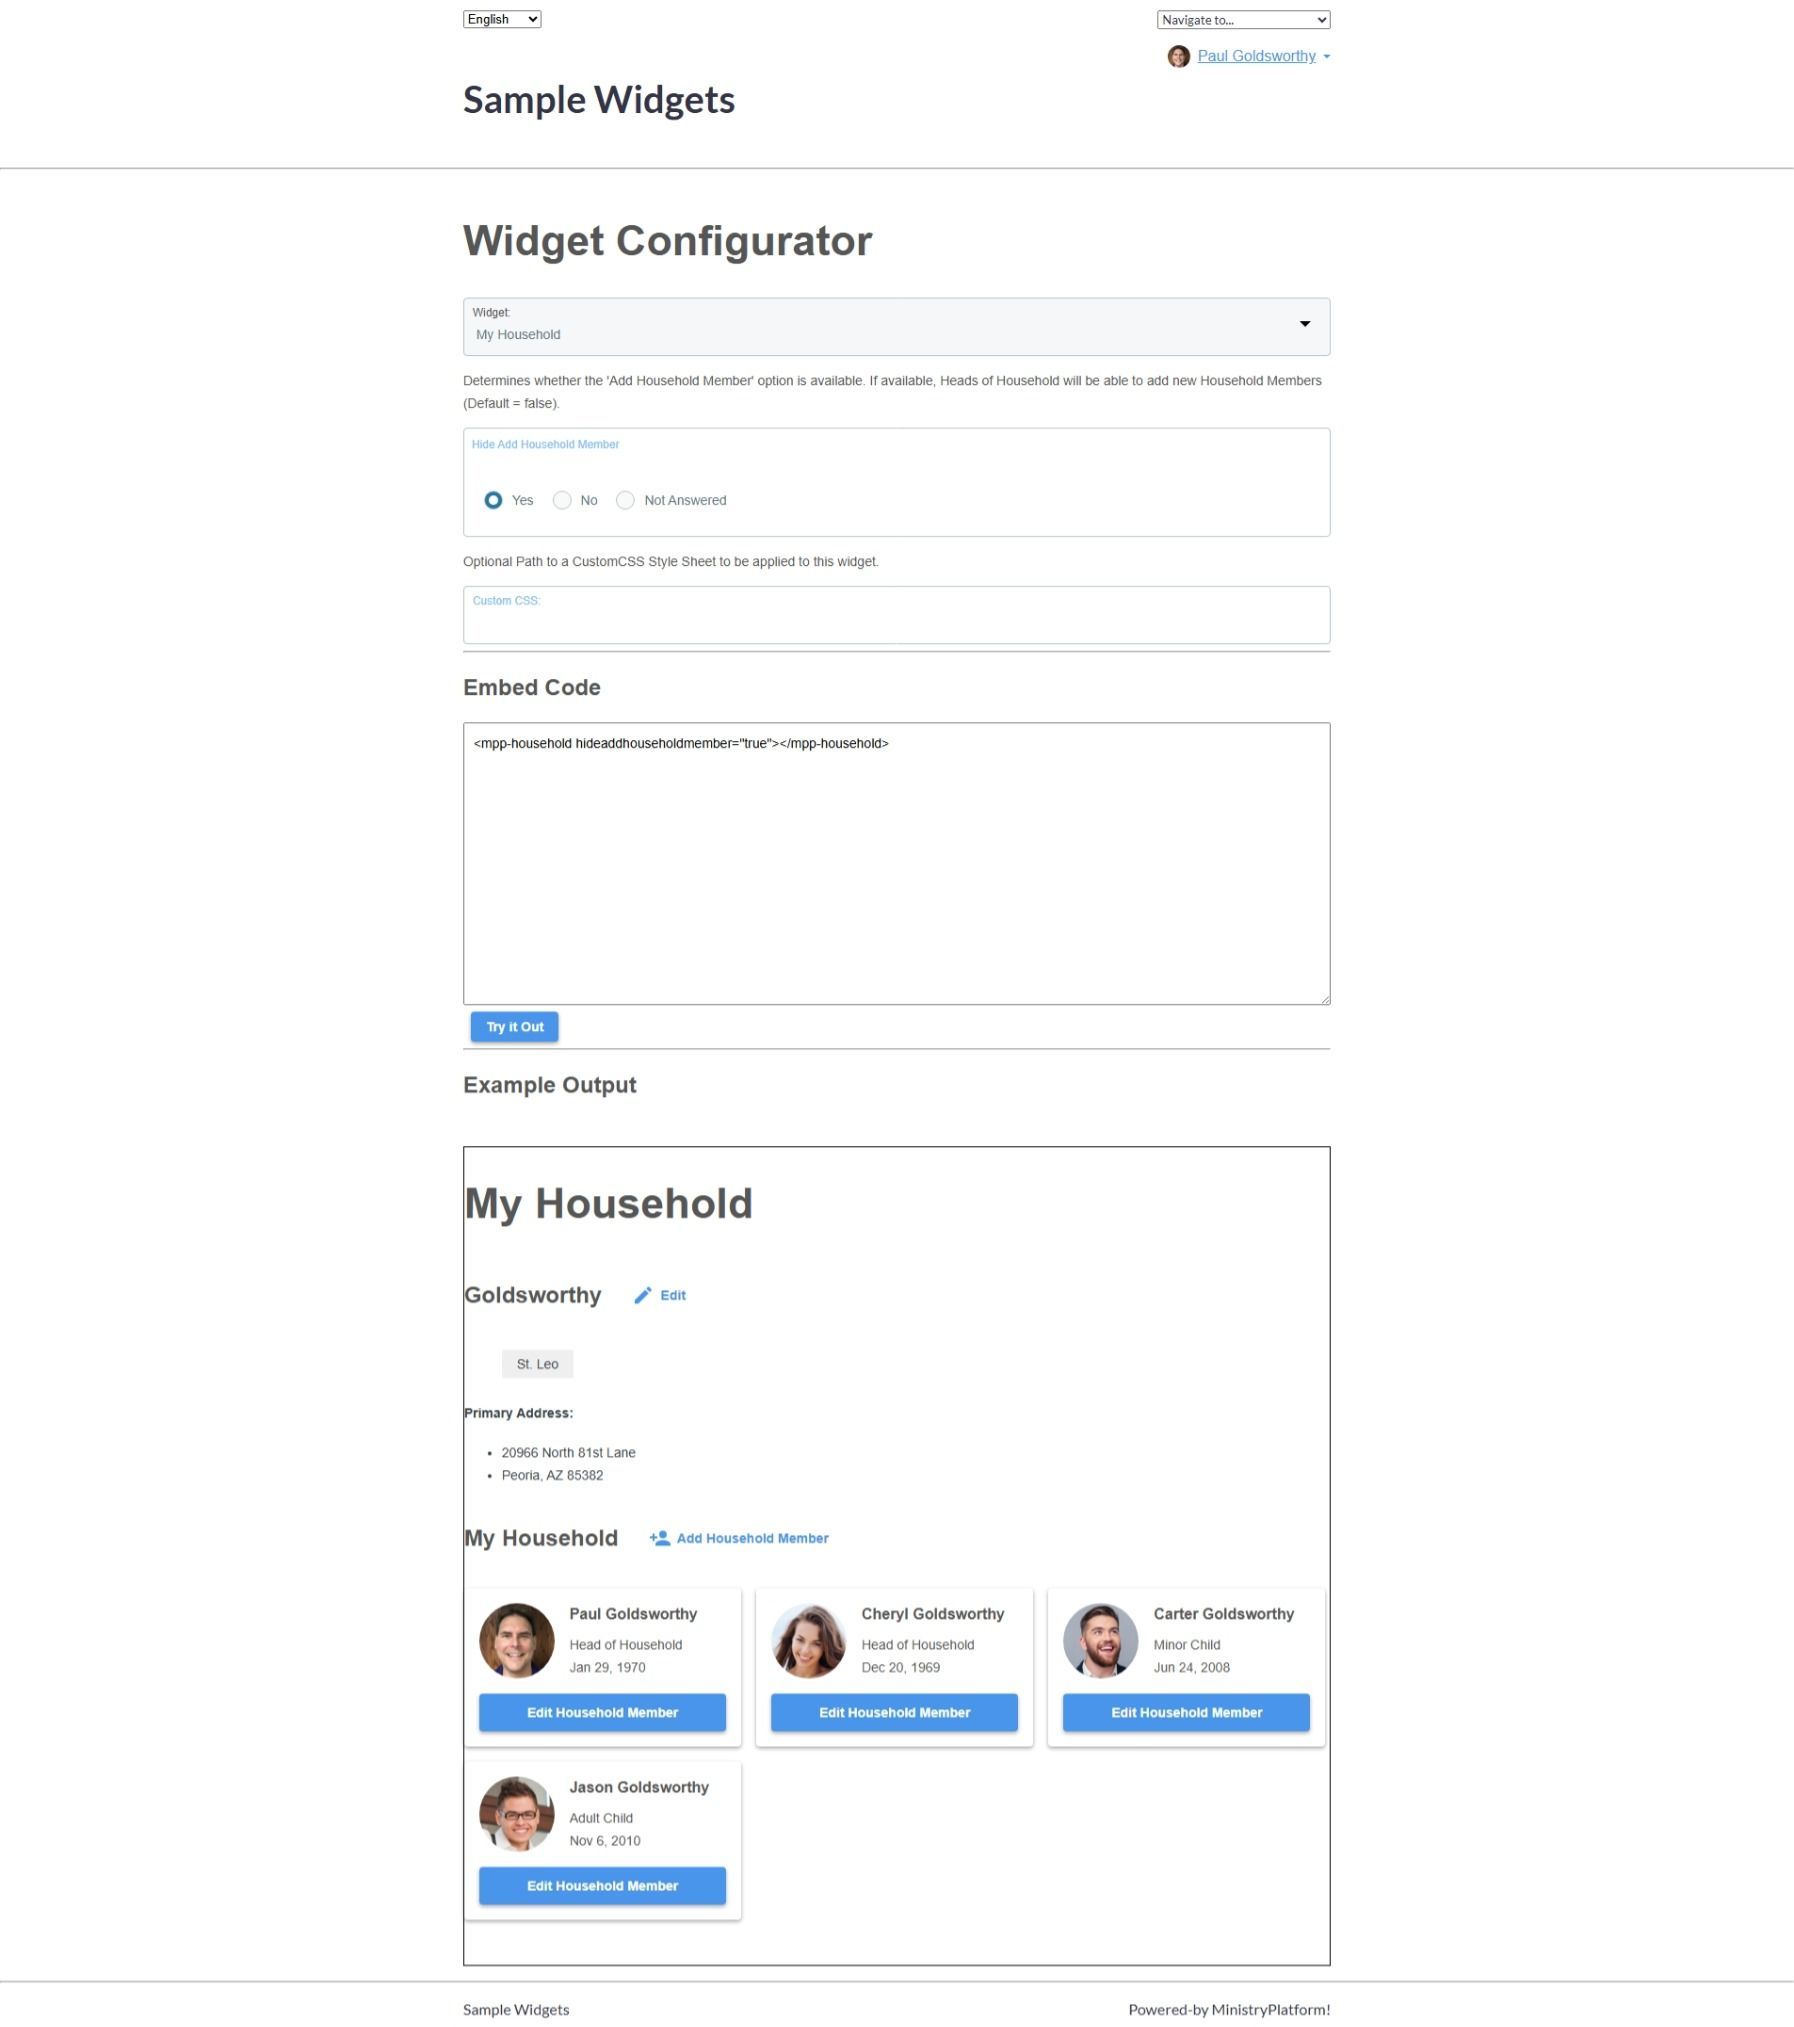
Step 3.
Use the
Widget Configurator to select the widget to use and customize any parameters.
Copy the resulting
Embed Code to the clipboard.
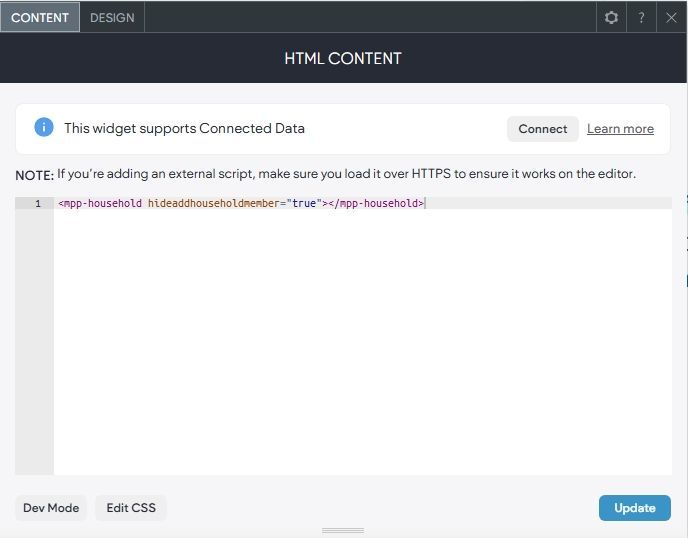
Step 4.
Paste the code into the HTML element on the page.
Press
Update.
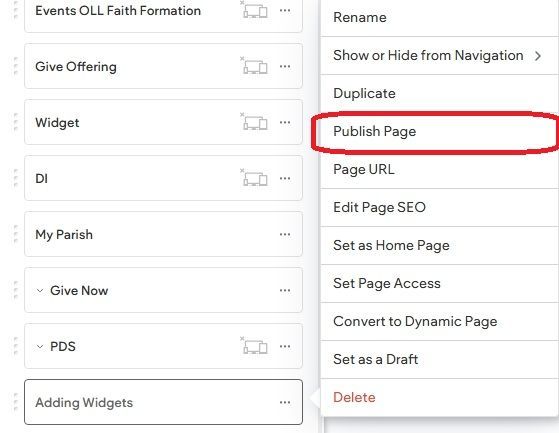
Step 5.
Publish
the site/page.
Prerequisites
Before adding widgets to your website there are a few steps that must be completed first.
- Contact support and ask them to whitelist your website Permitted URL's with MinistryPlatform. This includes design environment and production (published) URL's.
- Add MinistryPlatform's Shared Widget Script to your site Body End HTML. Go to More, Settings, Head HTML, Body End HTML. When the script is added here it doesn't need to be added to every page where you want to use widgets.
- Login to MinistryPlatform. The Widget Configurator requires you to be logged in.